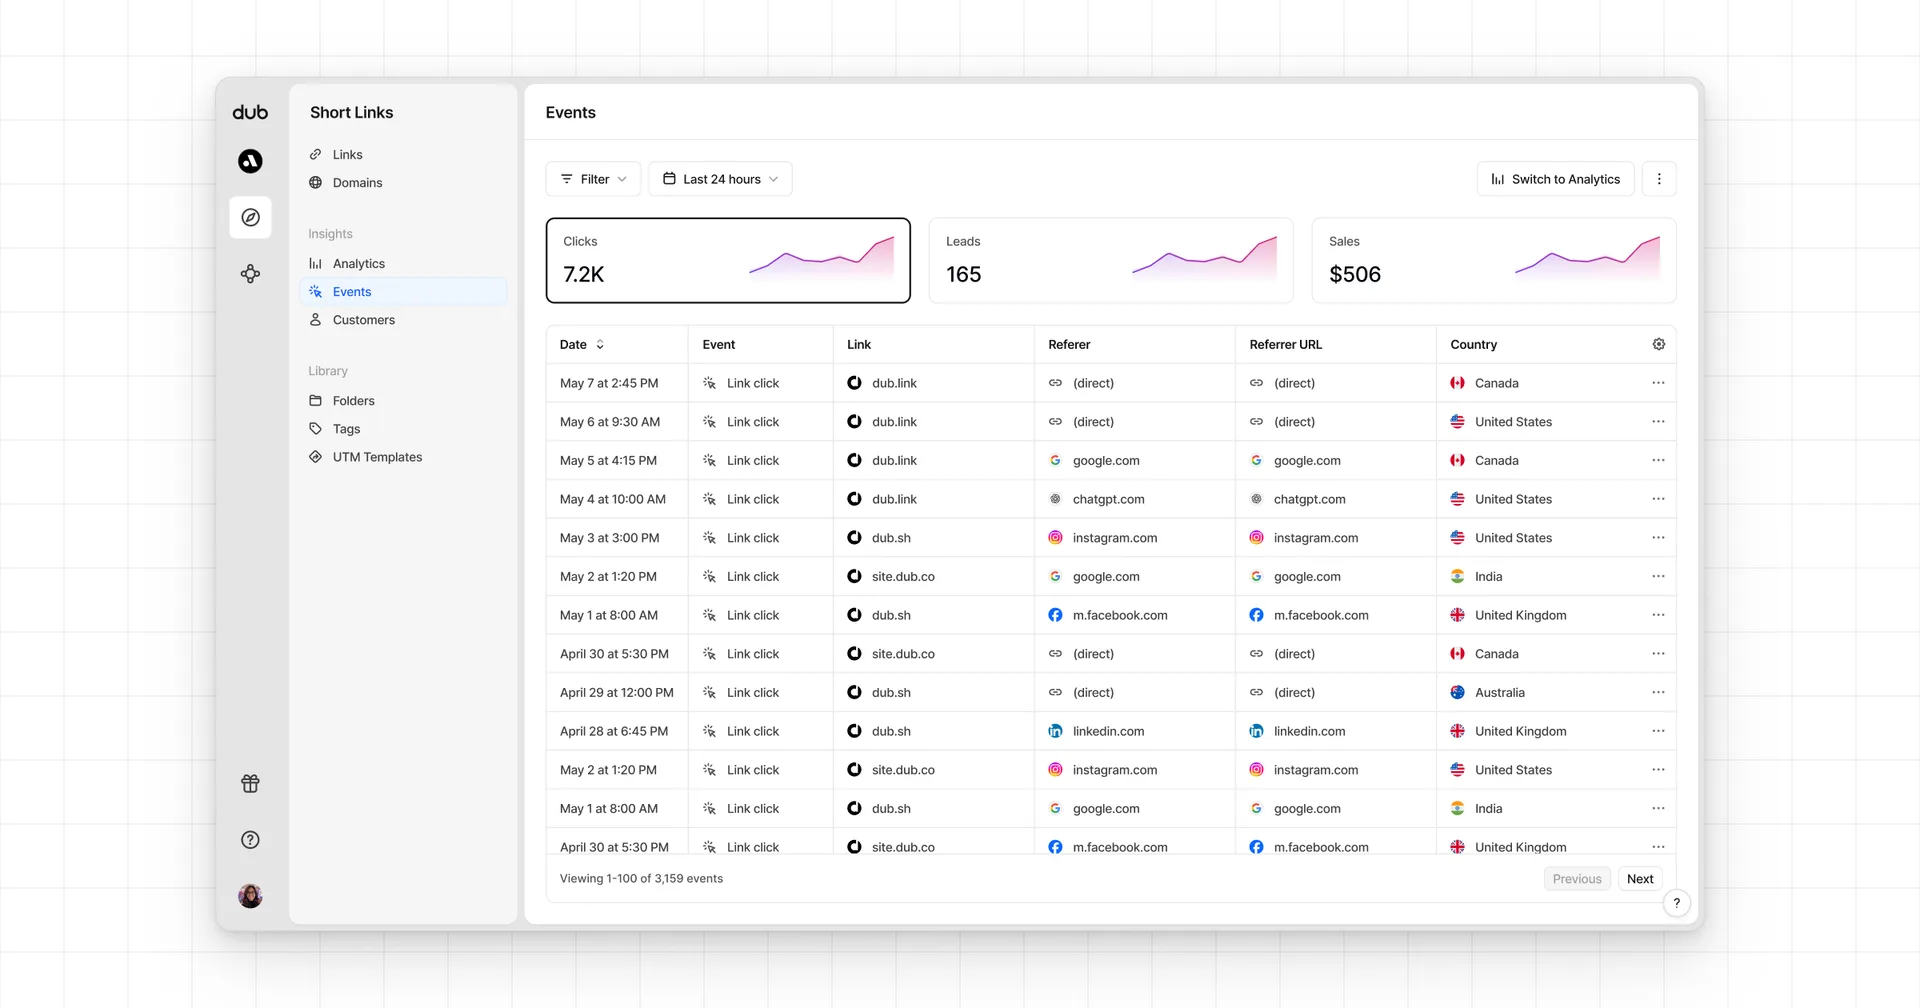
This feature is only available on Business plans and above.
Dub's powerful attribution platform lets you understand how well your links are translating to actual users and revenue dollars.

In this guide, we'll learn how to track conversion events with Dub using server-side tracking.
The recommended way to track conversions on Dub is using server-side tracking, which is more reliable than client-side tracking.
Step 1: Enable conversion tracking for your links#
First, you'll need to enable conversion tracking for your Dub links to be able to start tracking conversions:
If you're using Dub Partners, you can skip this step since partner links will have conversion tracking enabled by default.
Option 1: On a workspace-level
To enable conversion tracking for all future links in a workspace, you can do the following: To enable conversion tracking for all future links in a workspace, you can do the following:
- Navigate to your workspace's Tracking settings page.
- Toggle the Workspace-level Conversion Tracking switch to enable conversion tracking for the workspace.
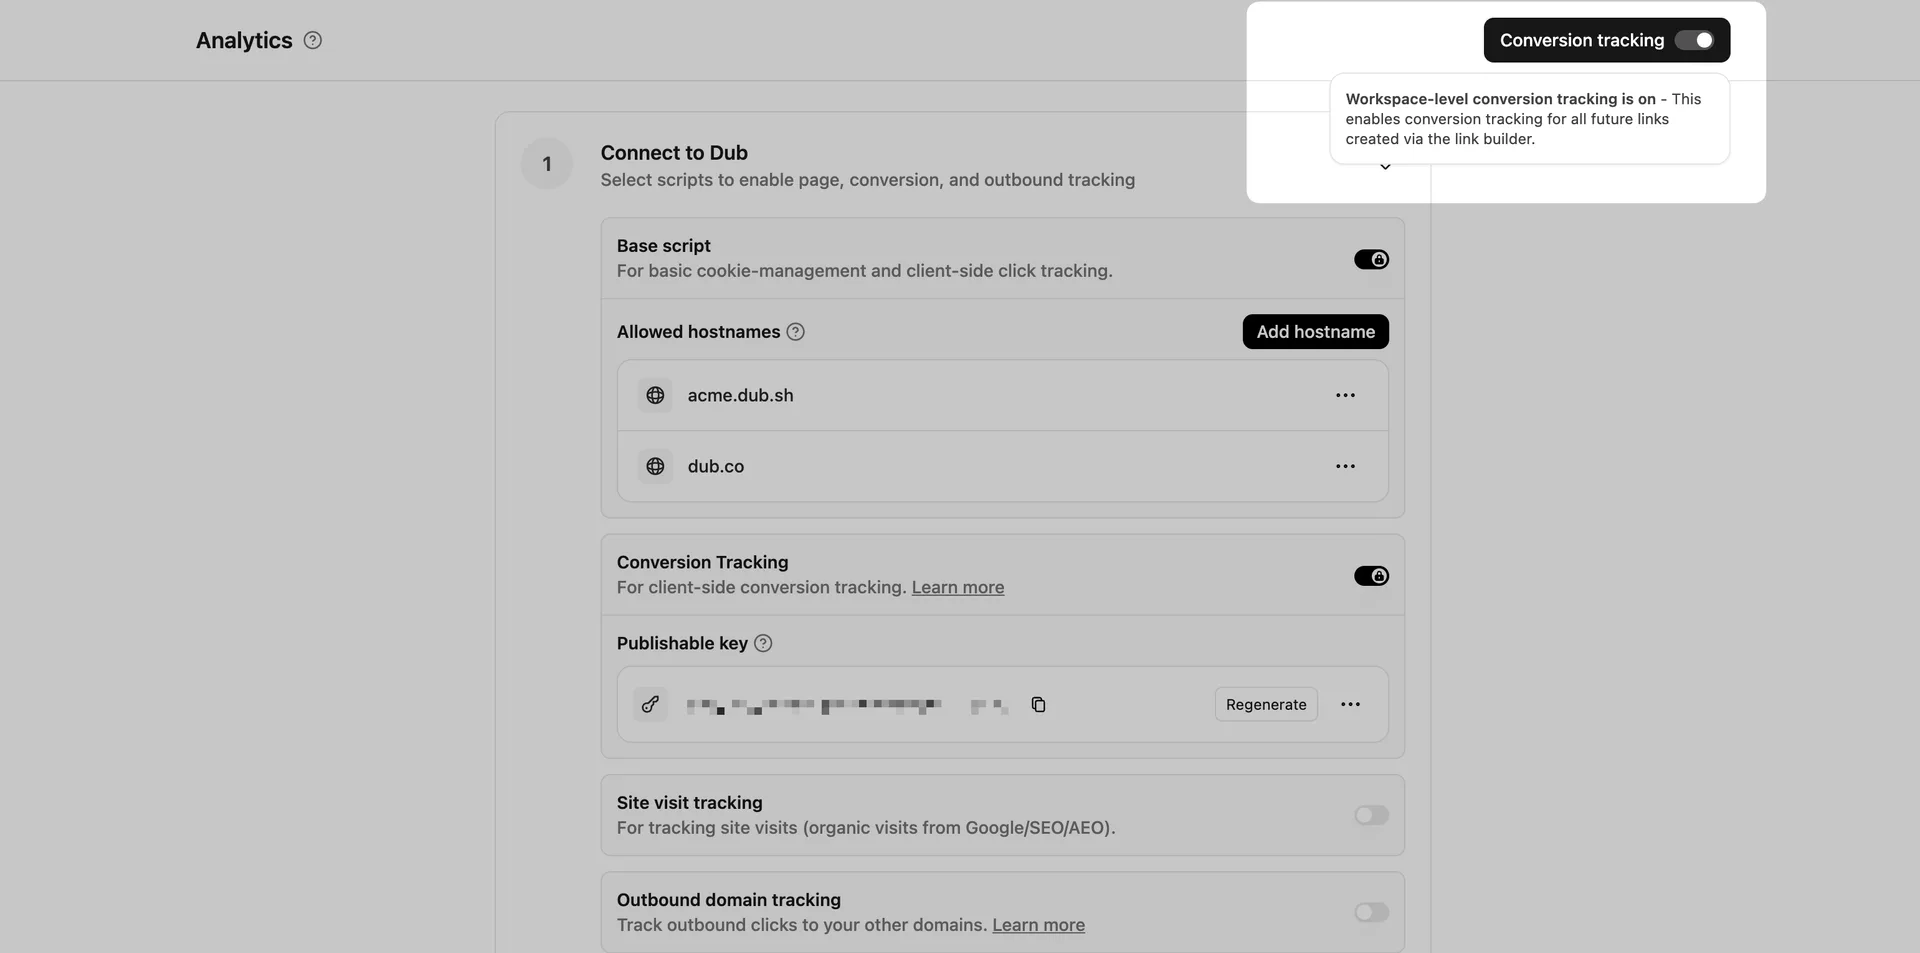
This option will enable conversion tracking in the Dub Link Builder for all future links.
Option 2: On a link-level
If you don't want to enable conversion tracking for all your links in a workspace, you can also opt to enable it on a link-level.
To enable conversion tracking for a specific link, open the Dub Link Builder for a link and toggle the Conversion Tracking switch.
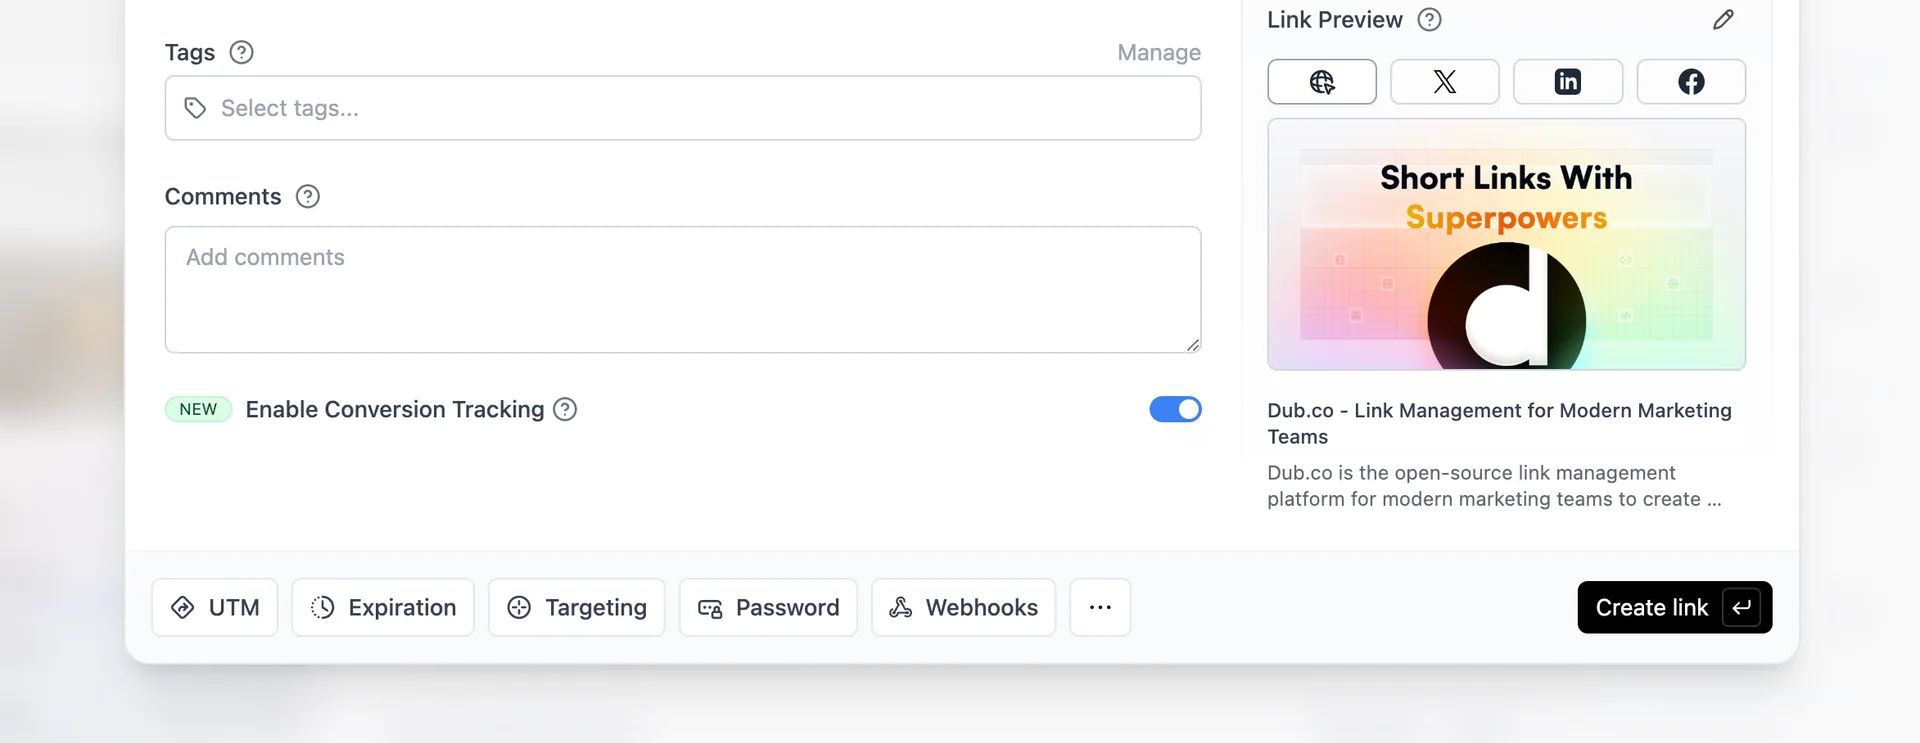
You can also use the C keyboard shortcut when inside the link builder to
quickly enable conversion tracking for a given link.
Option 3: Via the API
Alternatively, you can also enable conversion tracking programmatically via the Dub API. All you need to do is pass trackConversion: true when creating or updating a link:
Step 2: Install the Dub Analytics script#
Next, you'll need to install the Dub Analytics script.
This script detects the dub_id query parameter and storing it as a first-party cookie, which will be used to attribute subsequent conversion events to the original link.

You can install the Dub Analytics script in several different ways:
You can verify the installation with the following tests:
- Open the browser console and type in
_dubAnalytics– if the script is installed correctly, you should see the_dubAnalyticsobject in the console. - Add the
?dub_id=testquery parameter to your website URL and make sure that thedub_idcookie is being set in your browser.
If both of these checks pass, the script is installed correctly. Otherwise, please make sure:
- The analytics script was added to the
<head>section of the page - If you're using a content delivery network (CDN), make sure to purge any cached content
Step 3: Install the Dub server-side SDK#
Depending on which framework you're using, you can use our native SDKs to track conversion events:
If you're using a framework that isn't listed, you can use the Dub REST API to track events on the server-side:
Step 4: Track conversion events#
Now comes the fun part – tracking conversion events.
Tracking lead events#
The first event you'll want to track is a lead event. This happens when a user performs an action that indicates interest in your product or service. This could be anything from:
- Signing up for an account
- Adding a product to cart
- Joining a mailing list

Our most common lead event is Sign Up, which happens when a user signs up for an account. Depending on which authentication framework you're using, here are a few examples of how to send Sign Up lead events:
The lead event will serve as the source of truth for the customer's identity and which link they came from. This means that all subsequent actions performed by the customer (e.g. upgrading their plan, purchasing a product) will automatically be attributed to the original link.
Tracking sale events#
The second event you'll want to send is a sale event. This happens when a user purchases your product or service. This could be anything from:
- Subscribing to a paid plan
- Usage expansion (upgrading from one plan to another)
- Purchasing a product

Depending on which payment processor you're using, we offer native integrations for the following:
Alternatively, you can also send sale events manually using our SDKs or the POST /track/sale API endpoint.
Looking to track sales without a prior lead event? Check out our direct sale tracking guide.
Looking to track refunds? Check out our refunds tracking guide.
Step 5: View your conversions#
Once you've enabled conversion tracking for your links, all your tracked conversions will show up on your Analytics dashboard. We provide 3 different views to help you understand your conversions:
- Time-series: A time-series view of the number clicks, leads and sales.
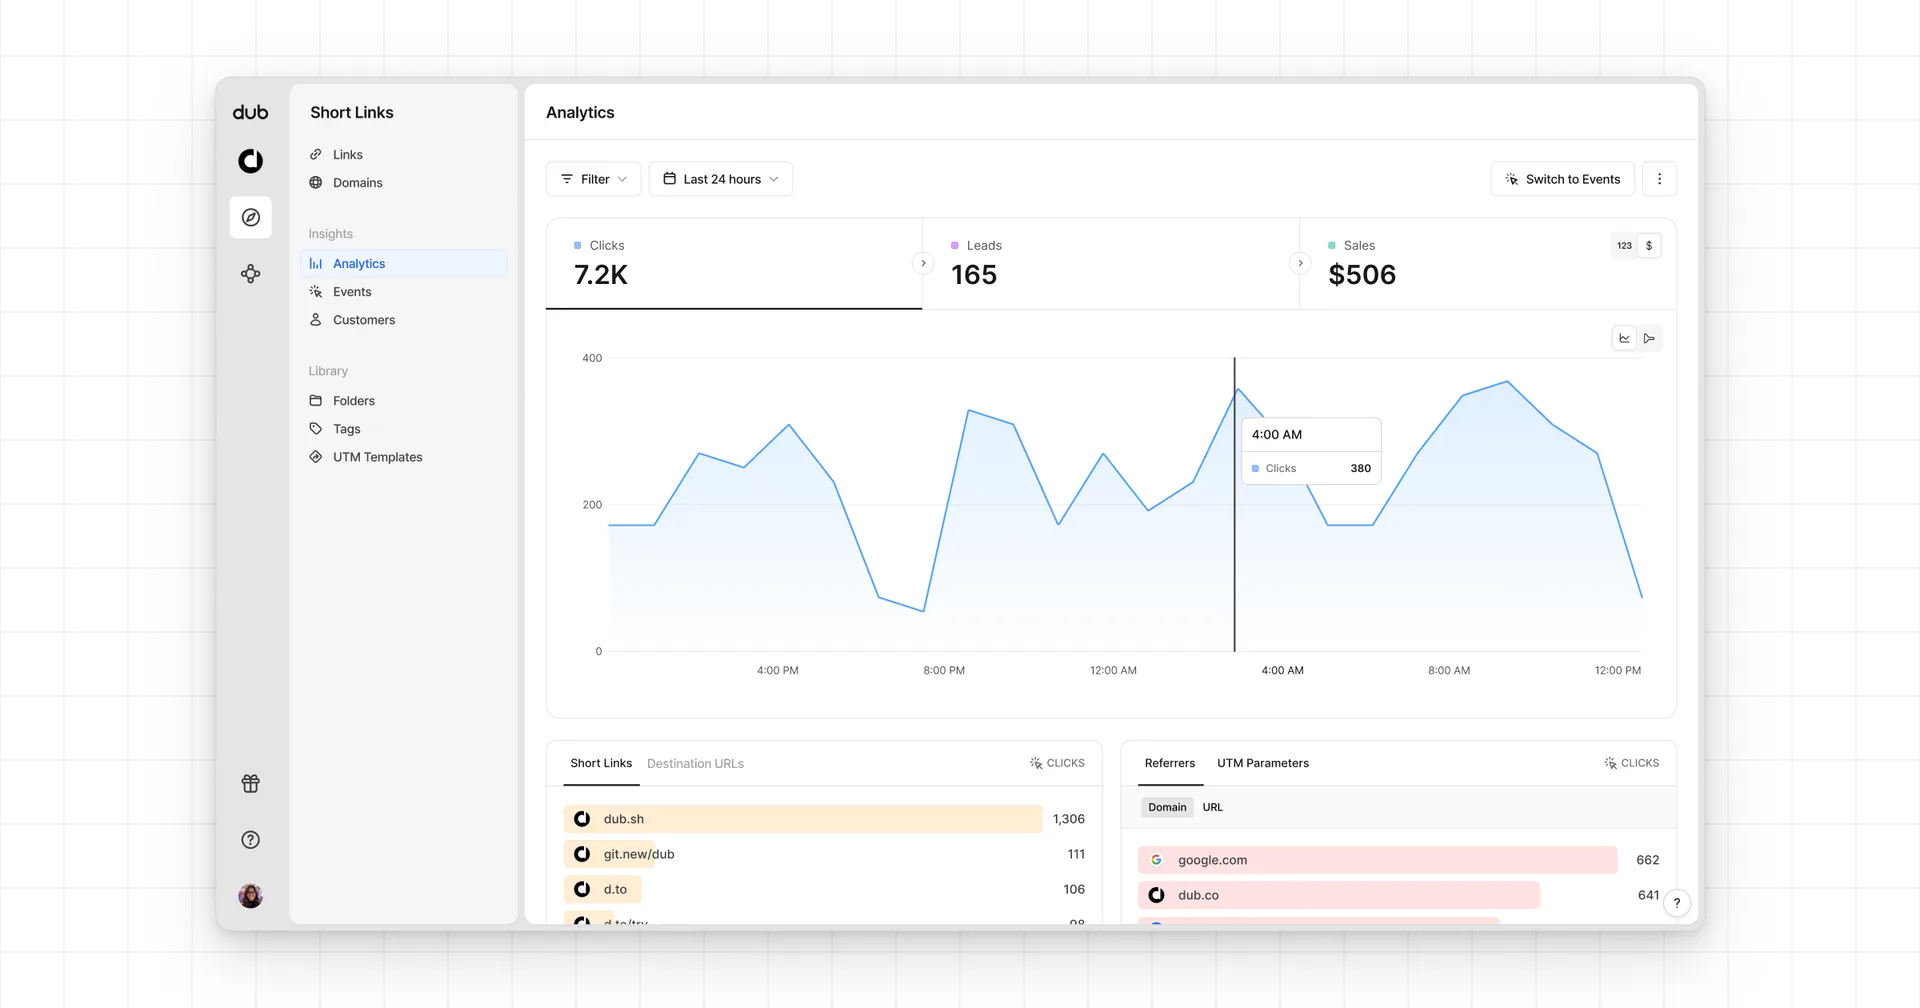
- Funnel chart: A funnel chart view visualizing the conversion & dropoff rates across the different steps in the conversion funnel (clicks → leads → sales).
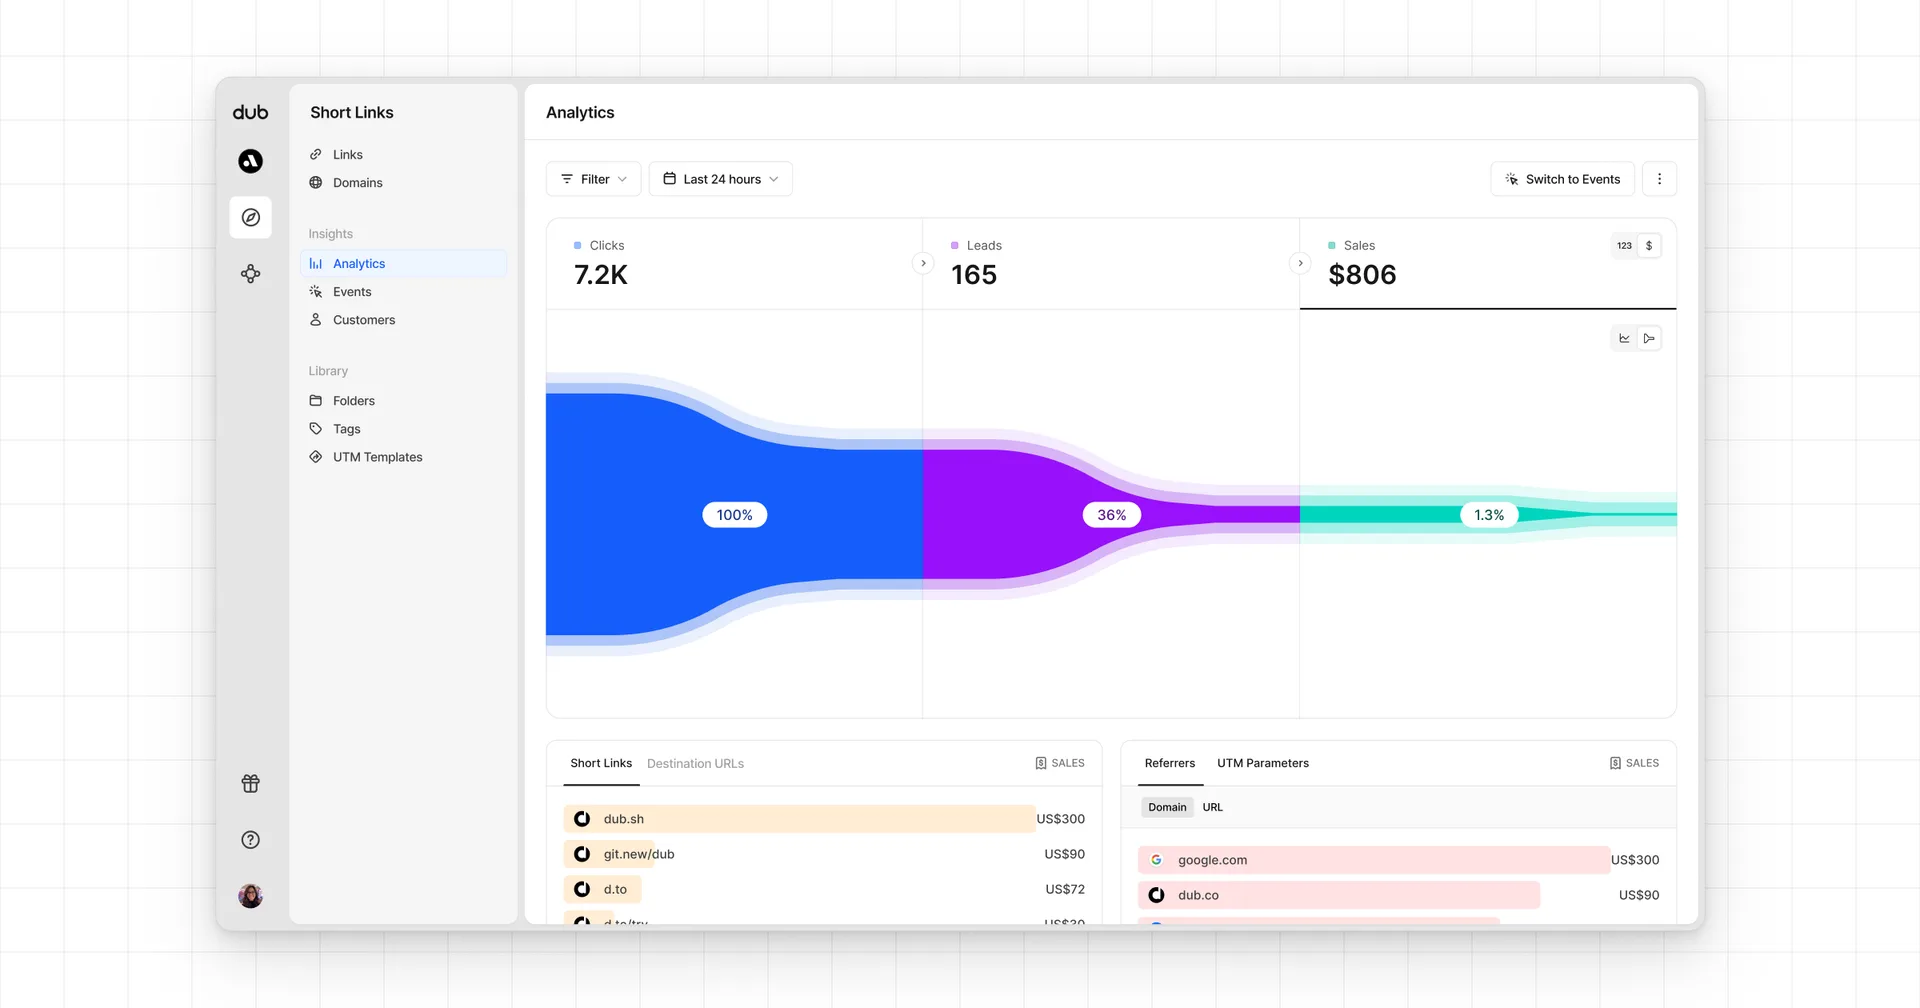
- Real-time events stream: A real-time events stream of every single conversion event that occurs across all your links in your workspace.